Wall Mounted Installation
Follow these steps to securely mount your Zorvi Z1 to the wall.
NO-DRILL ALTERNATIVE
Don't want to drill into your walls? You can use strong command strips as an alternative mounting method or a hook mounting for a door. Ensure they're rated for the appropriate weight of the Zorvi Z1.
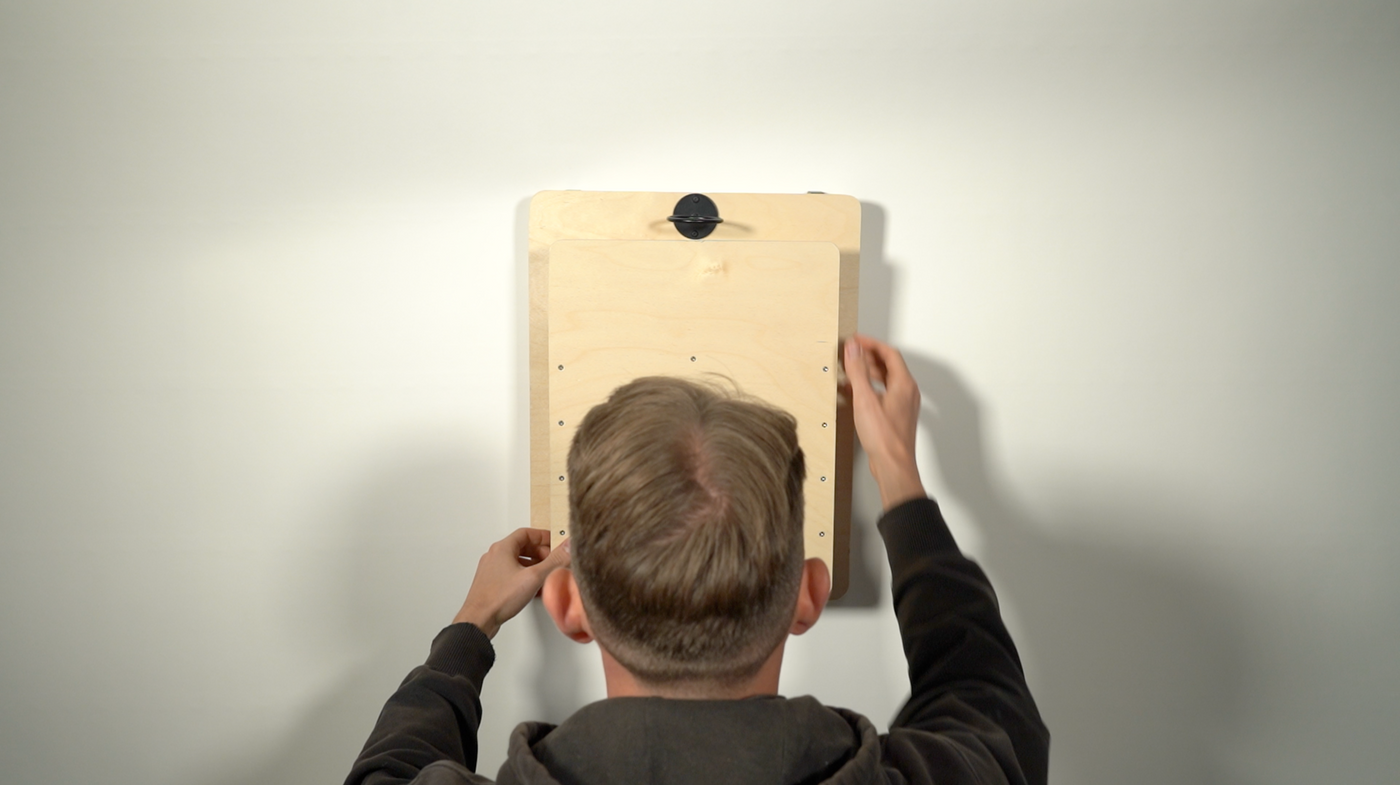
Find Your Height
For the most challenging and effective training, the bottom of Z1 should align with your shoulder.
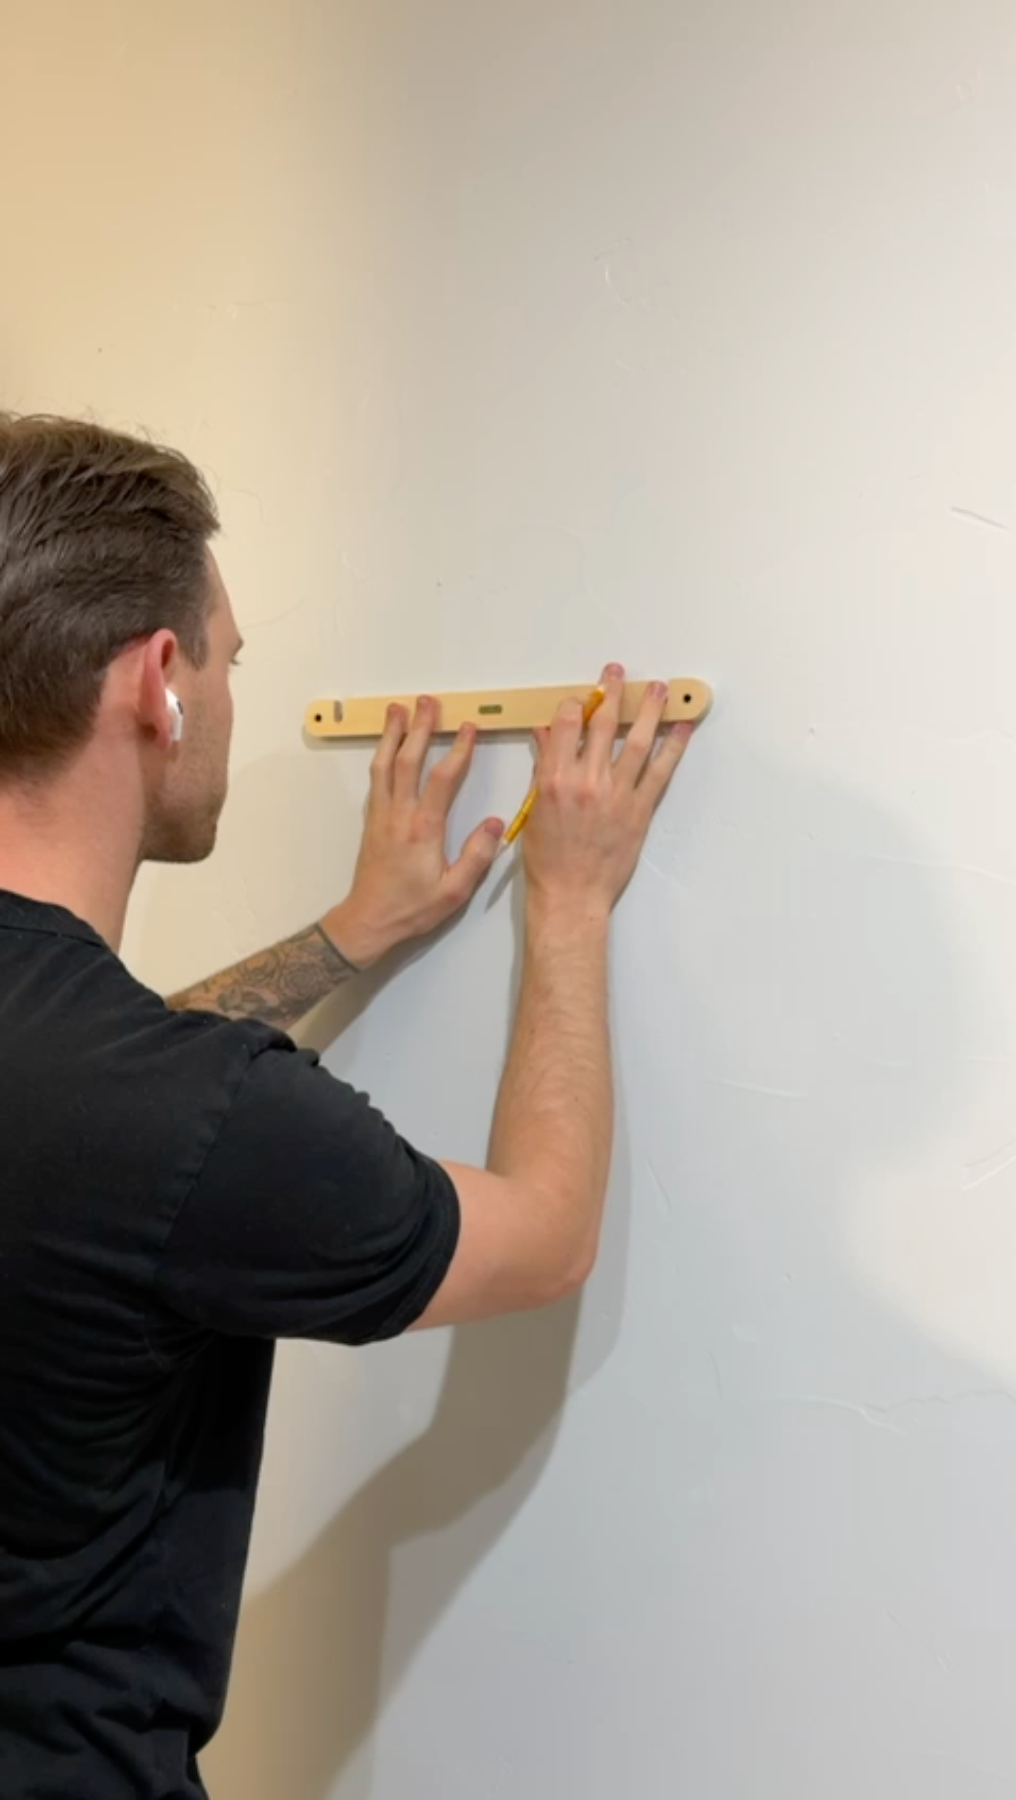
Mark the Drill Points
Hold the mounting cleat against the wall and mark the drilling points clearly.
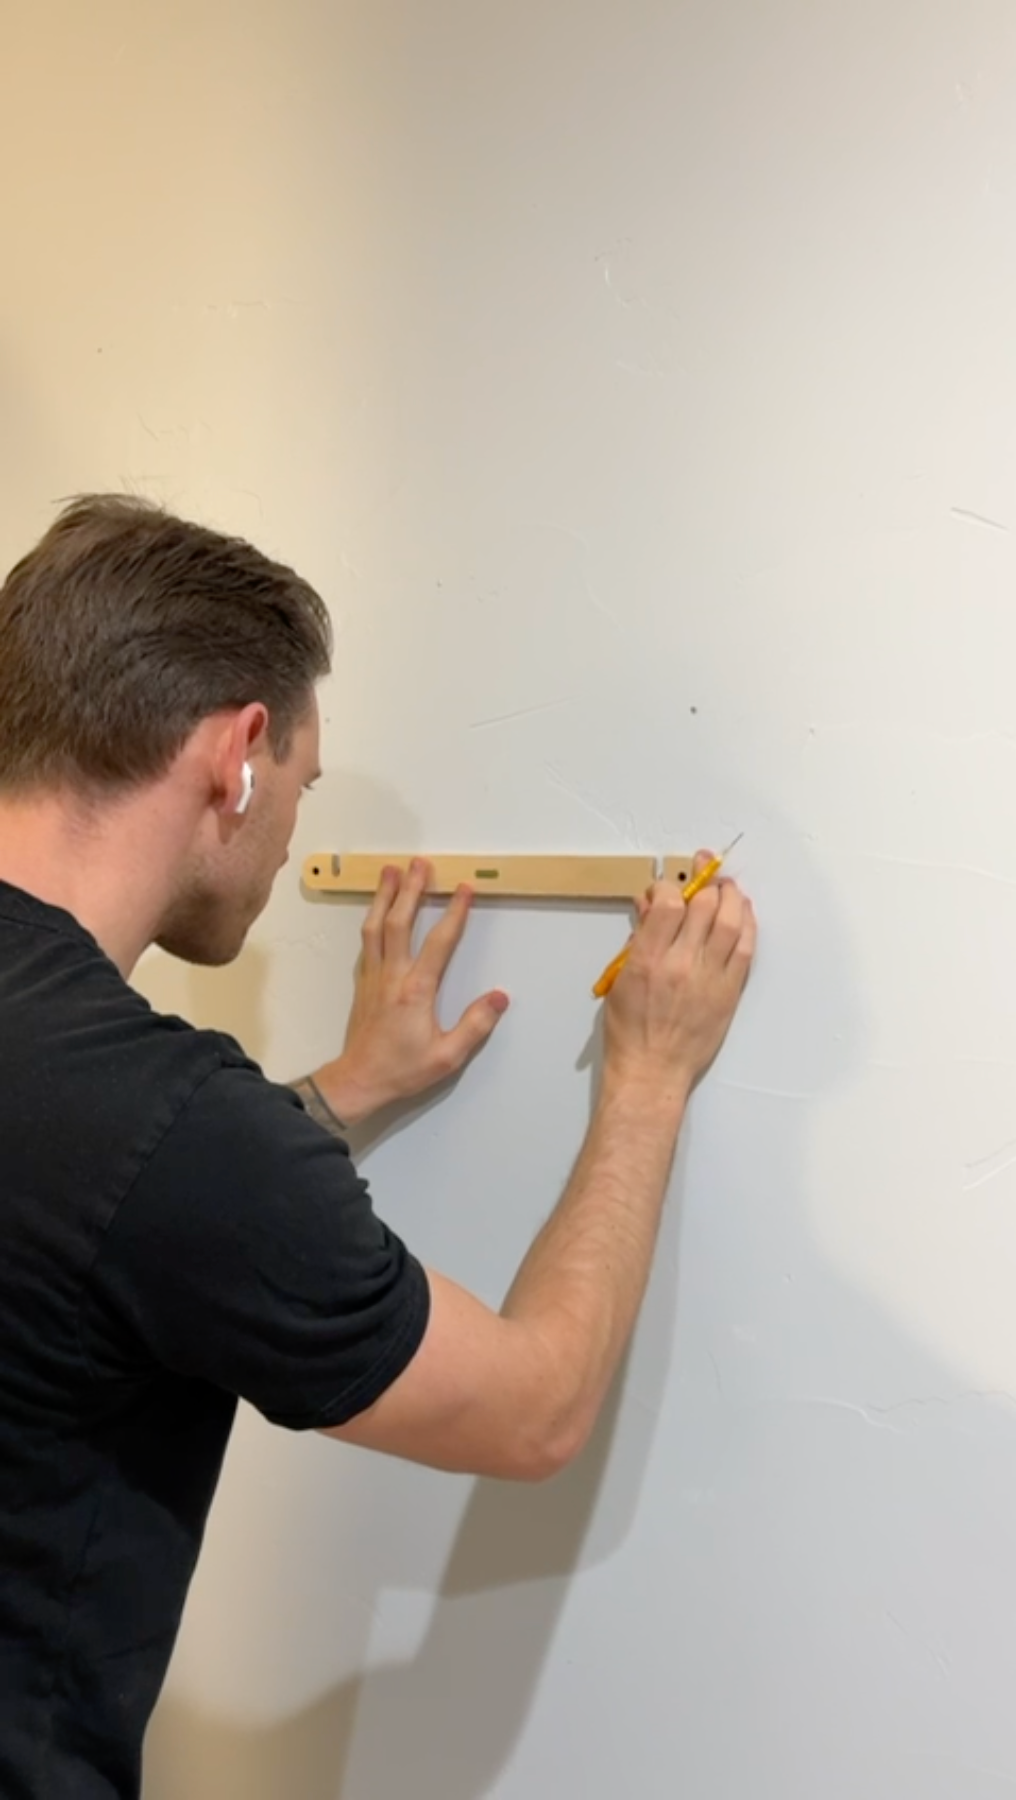
Choose Your Elevation
If two people will be using Z1 (or you want two height options), choose Elevation 2 or any two levels that suit your play.
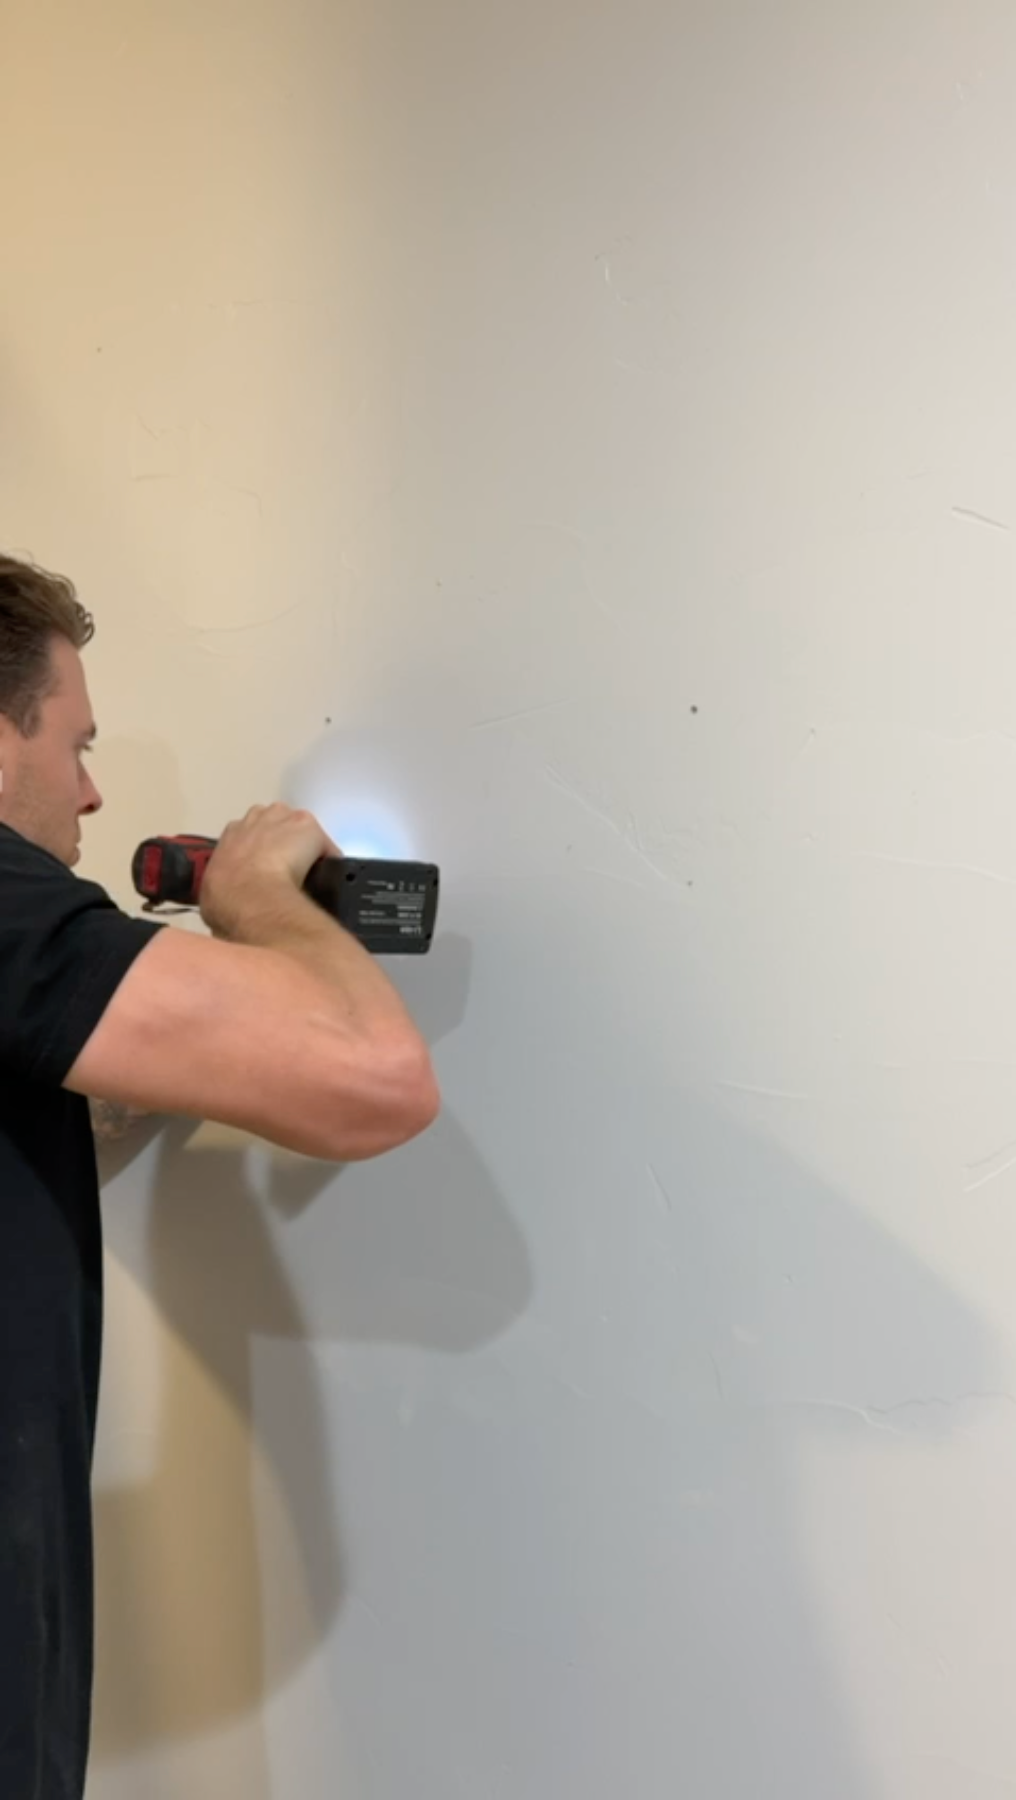
Drill the Holes
Drill 2 holes for each elevation level.
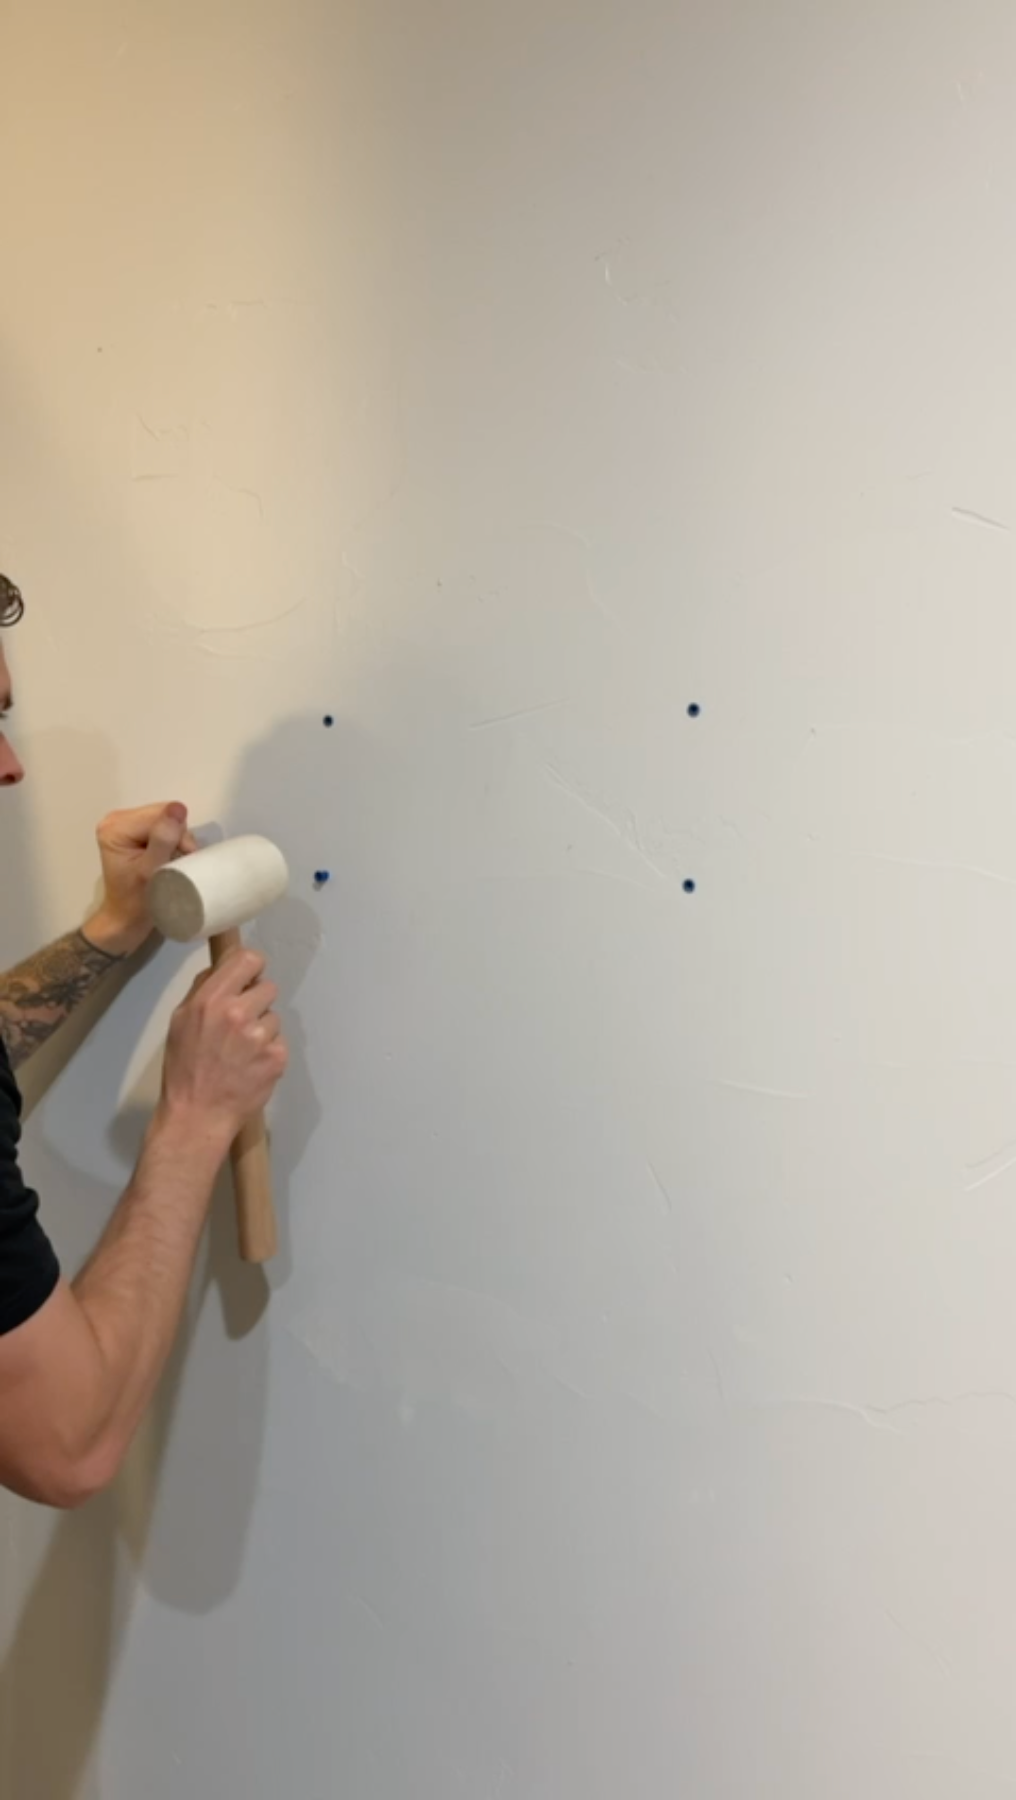
Insert Wall Anchors
Insert the wall anchors firmly into the drilled holes.
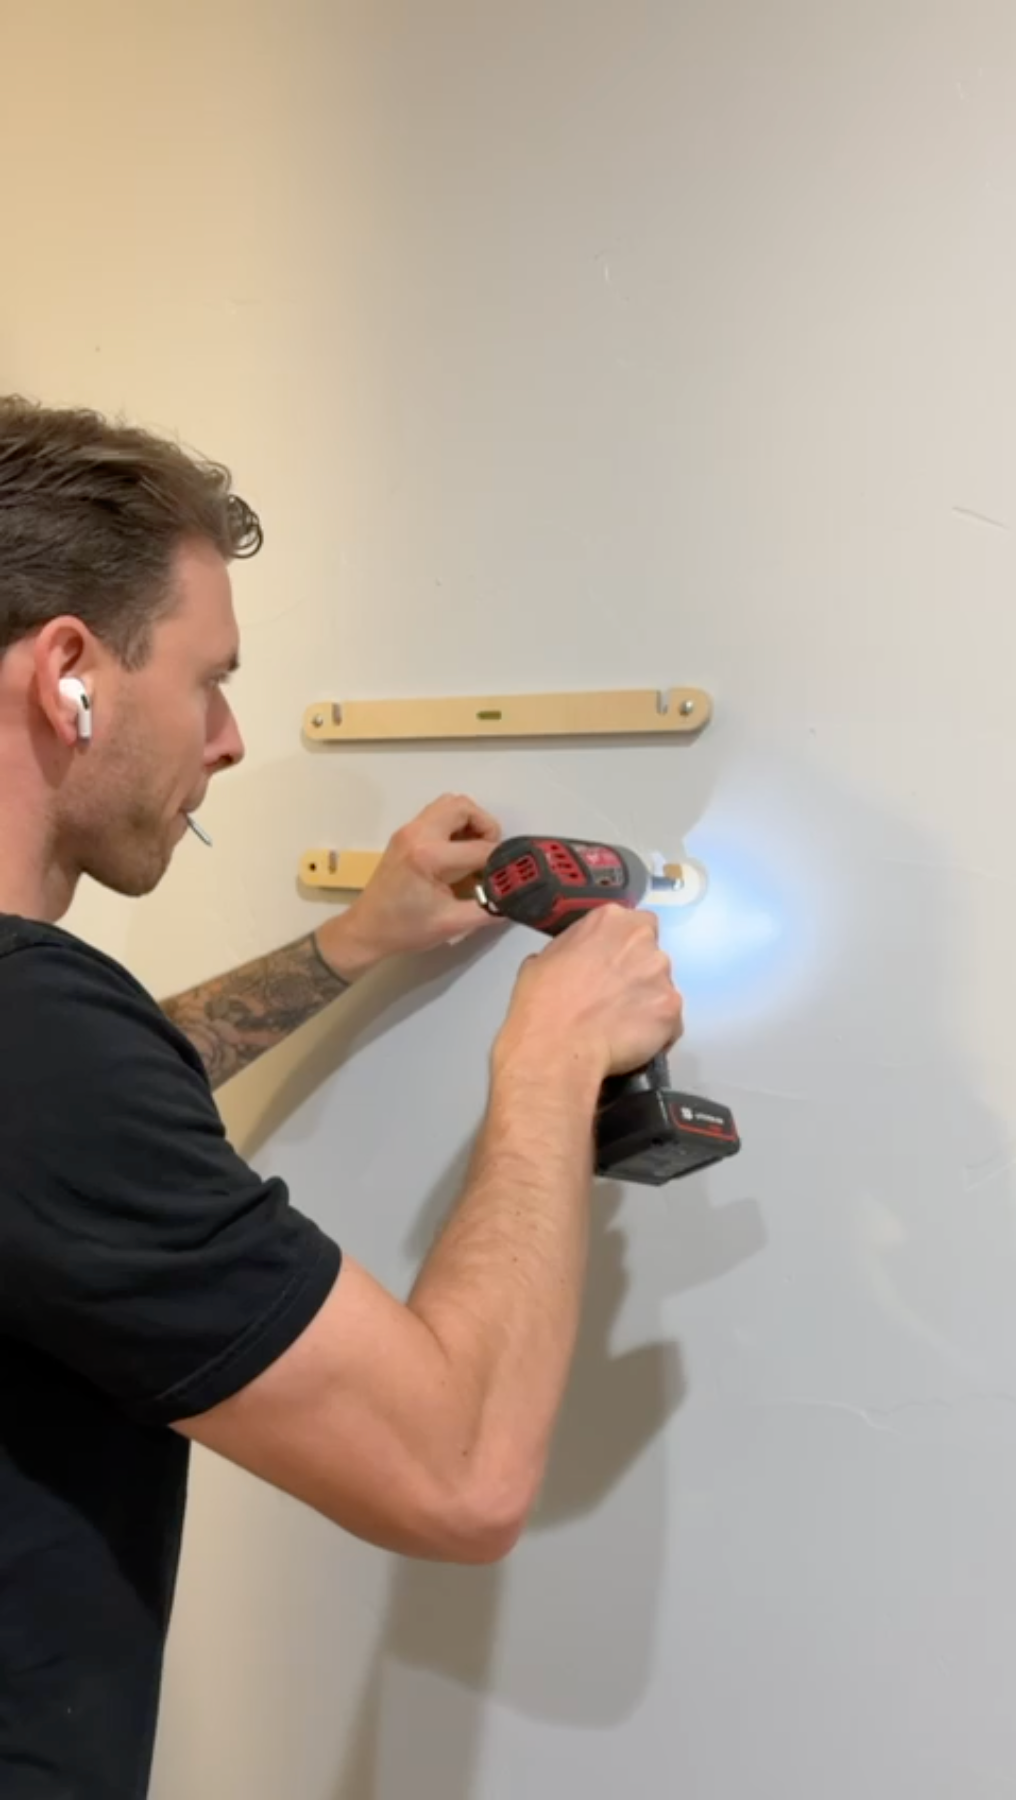
Fix the Cleats
Screw in the 4 screws to secure the 2 mounting cleats tightly to the wall.
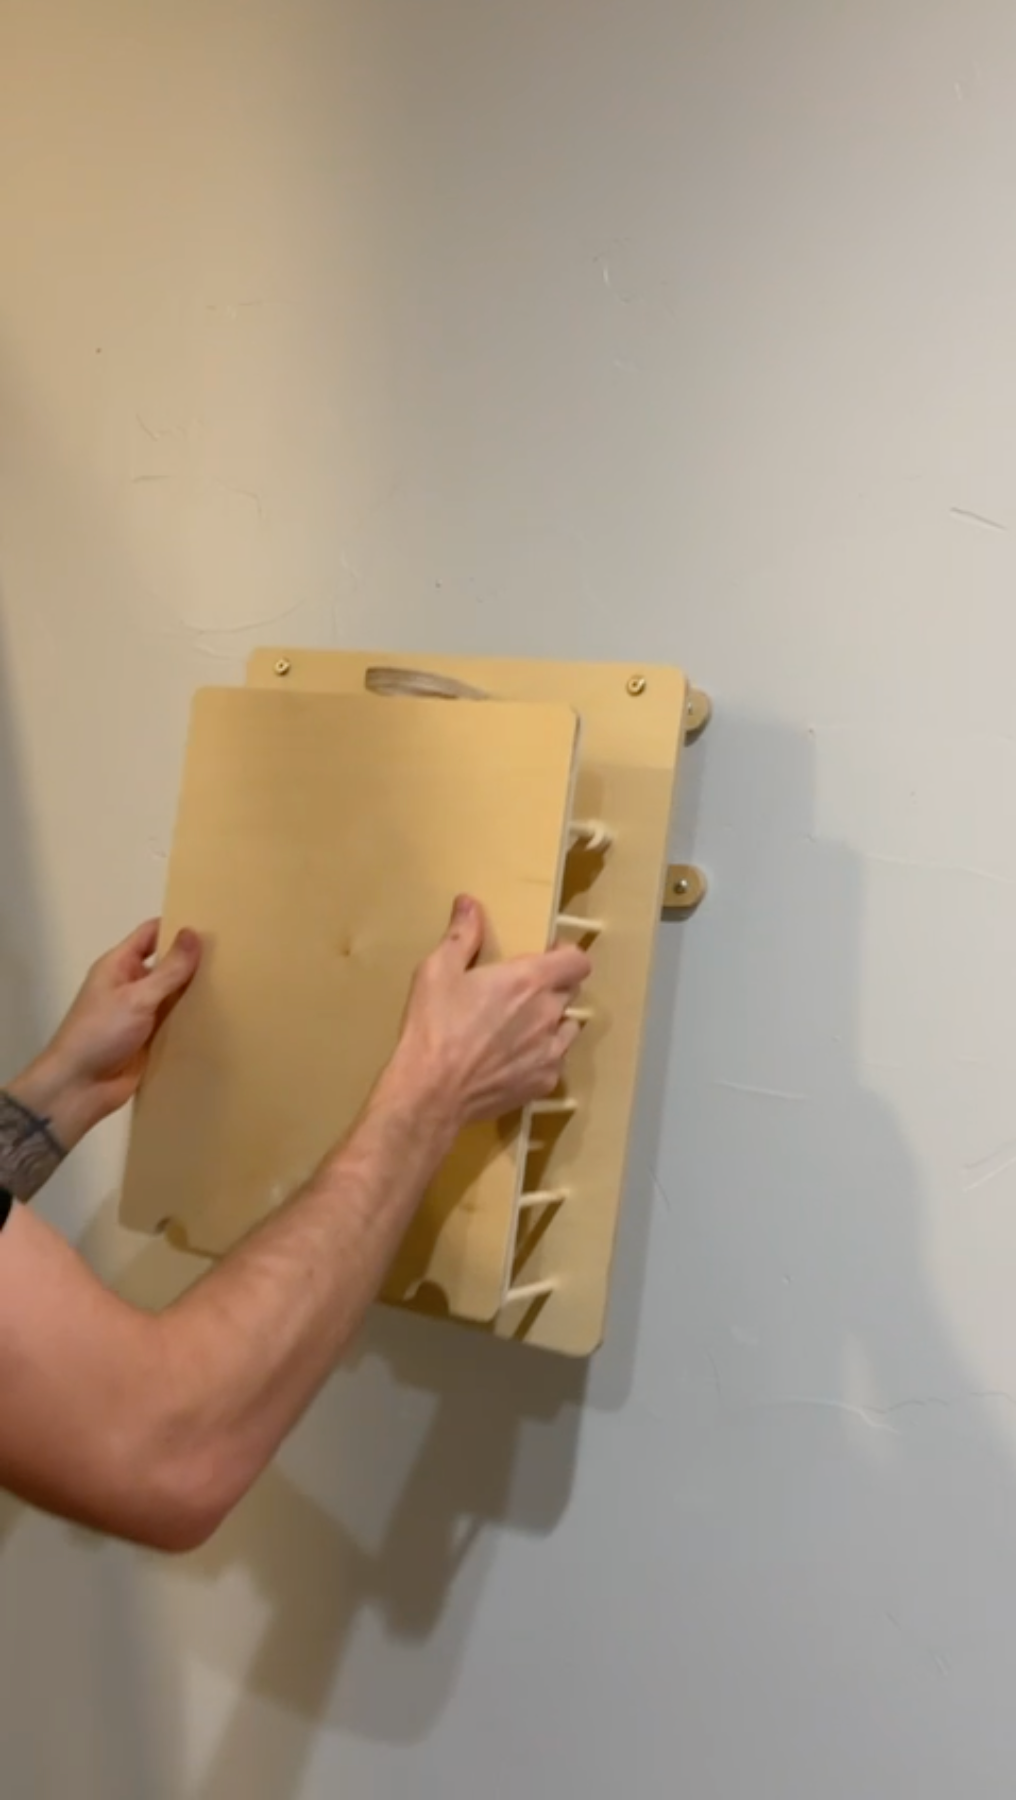
Hang Z1
Carefully hang Z1 onto the mounted cleats until it sits securely.
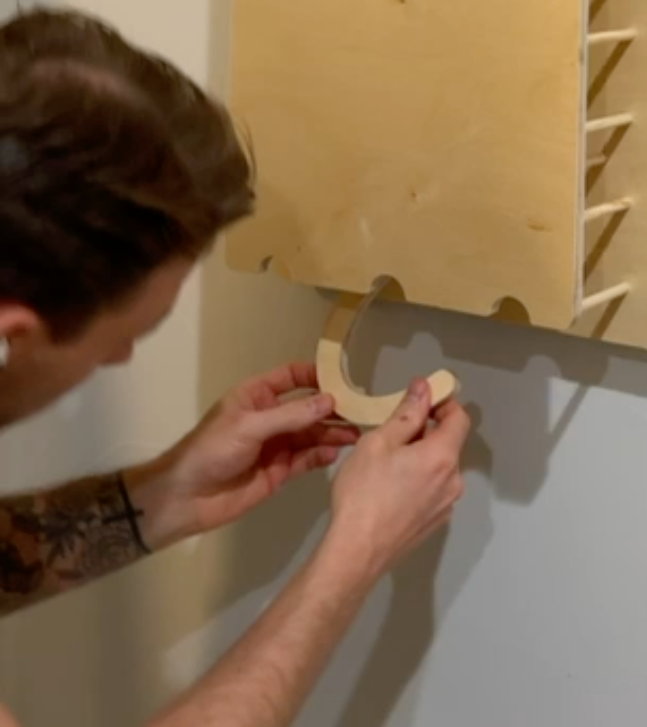
Choose Your Difficulty
Insert the middle outlet stopper for 2 outlets and remove it for 3 outlets and maximum unpredictability.
Installation Complete!
Your Zorvi Z1 is now ready for training. Start with the beginner protocol and gradually increase intensity.
Back to Home